Typography options abound when using Phox. You can use standard font families, such as Arial, Helvetica etc, you can select from hundreds of Google Fonts, and if that’s not enough, you can even upload custom fonts to use anywhere on your site. Read below to find out more.
How To Upload A Custom Font
In Phox 1.8.0 or higher, you can now upload two custom fonts to your site and assign them to any area of the site that has a font-family option. To learn how to upload and use custom fonts, please continue reading below.
Step 1 – Download the custom font you’d like to use and make sure you receive all 5 web font files; .woff2, .woff, .ttf, .svg, and .otf. Each one is required.
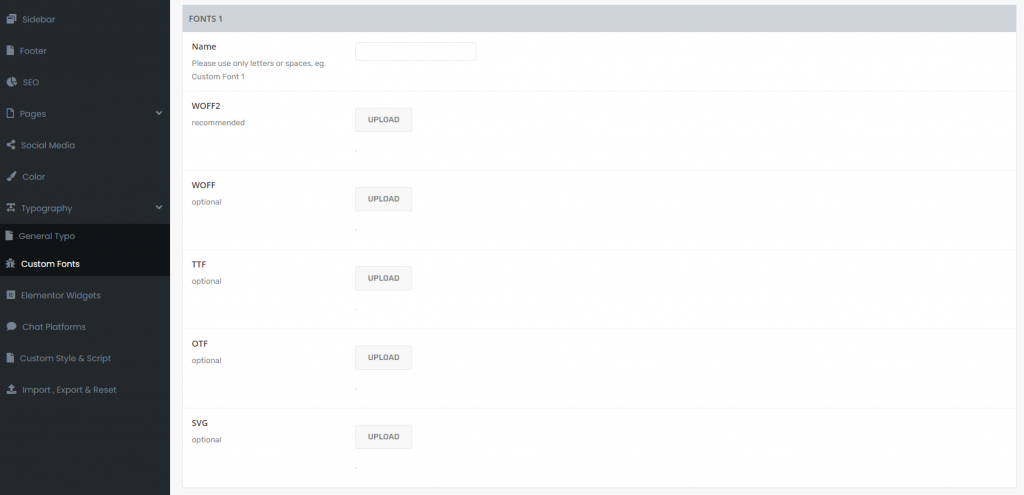
Step 2 – Navigate to Phox > Theme Options > Typography > Custom Fonts.
Step 3 – In this panel, there will be a 2 section for upload 2 fonts where you can upload each of the 5 web font files you’ve downloaded. For example, upload the .woff2 font file to the ‘WOFF2’ field, and so on.
🔔 IMPORTANT NOTE
If you get an error when uploading your fonts, such as: ‘Sorry, this file type is not permitted for security reasons’, a solution to this is to temporarily add this line to your wp-config.php file:define( 'ALLOW_UNFILTERED_UPLOADS', true );
If you are unsure how to do this, please seek help from your host.
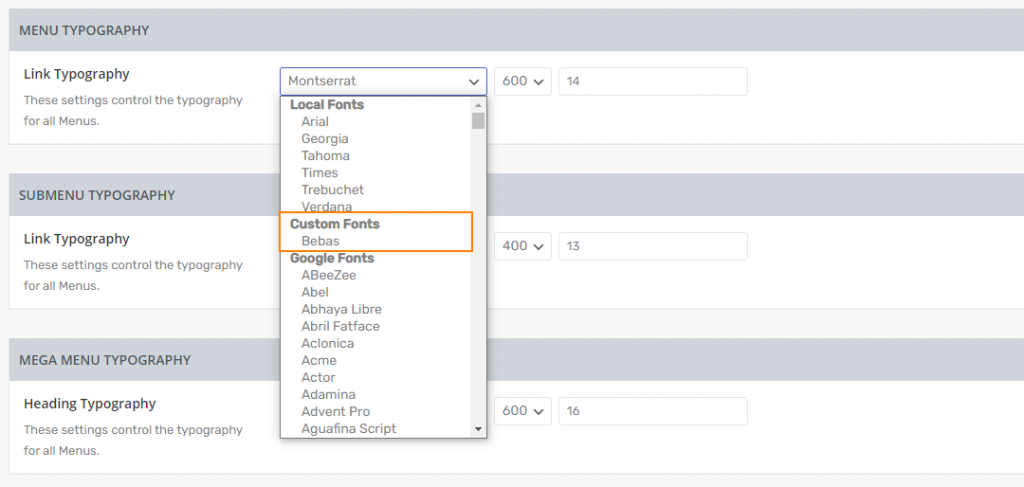
Step 4 – Once you’ve uploaded all the required font files to their respective fields, click the ‘Save Changes’ button then refresh the page. After you refresh the page, you will now be able to select your new custom fonts. They will be listed under ‘Custom Fonts’ on any Font Family option dropdown.
Step 6 – To delete a custom font, remove the font name and then remove all font files that you uploaded.