Requirements
Below is a list of requirements for the latest product version:
- Requires IonCube Loader v14.4.1- V12.0.1 – V10.4.3.
- Supports PHP 7.4 up to PHP 8.2.
- Supports MySQL 5.2 to 8.3
Before You Begin
- Ensure that the Phox WHMCS Client Theme version, which you would like to install, is compatible with your WHMCS installation.
- Make a full backup of your WHMCS server and database.
Download Files
- Go to ThemeForest and log in to your account.
- In the upper right corner, hover over your username and click on Downloads.

- Click on the Download button.
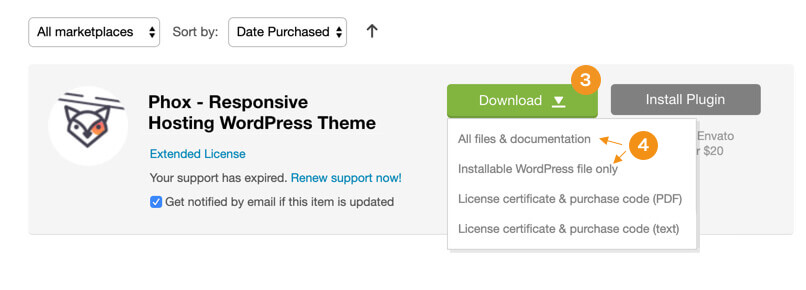
- Click on the “All files & documentation” link.
Upload Files
- Log into your server installation via FTP. You can use software such as Filezilla for this.
- If you have downloaded the Full Theme Package from ThemeForest, please unzip the master phox.zip file and then unzip the secondary whmcs.zip file which will give a whmcs folder.
- open the “Template” folder and upload “Phox” to your WHMCS “/whmcs/templates/…”
- open the “OrderForm” folder and upload “Phox” to your WHMCS “/whmcs/templates/orderforms/…”
- open the Module folder and upload “Phox_templates” to your WHMCS “/whmcs/modules/addons/…”
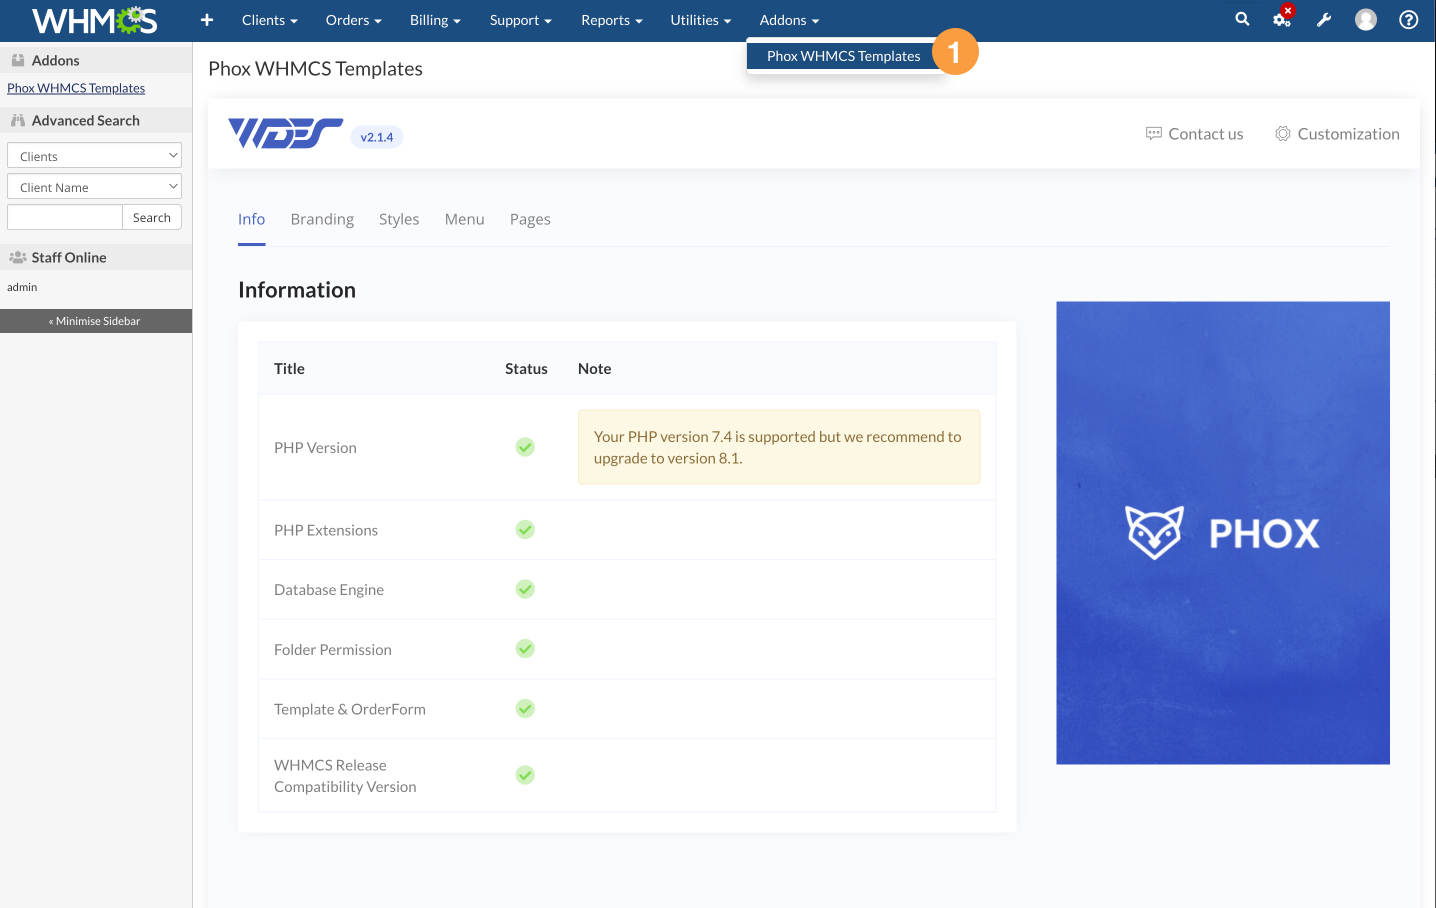
- IMPORTANT – Once all theme files have been uploaded to your server, please proceed to the “WHMCS Admin Area > Addons > Phox WHMCS Templates” and “Manage” theme for which you have performed an update. After entering our addon page, you can implement all necessary changes in the database structure and perform automatic updates.
Note 🔔: If you have already installed the module after you update the files, go to the “wrench” Icon > System Settings > Addon Modules and make sure that the Phox module has the new version.
Clear Cache
- Clear your browser and server cache (for example Cloudflare).
- Clear the WHMCS template cache in: Utilities > System > System Cleanup > “Go” > “Empty Template Cache”